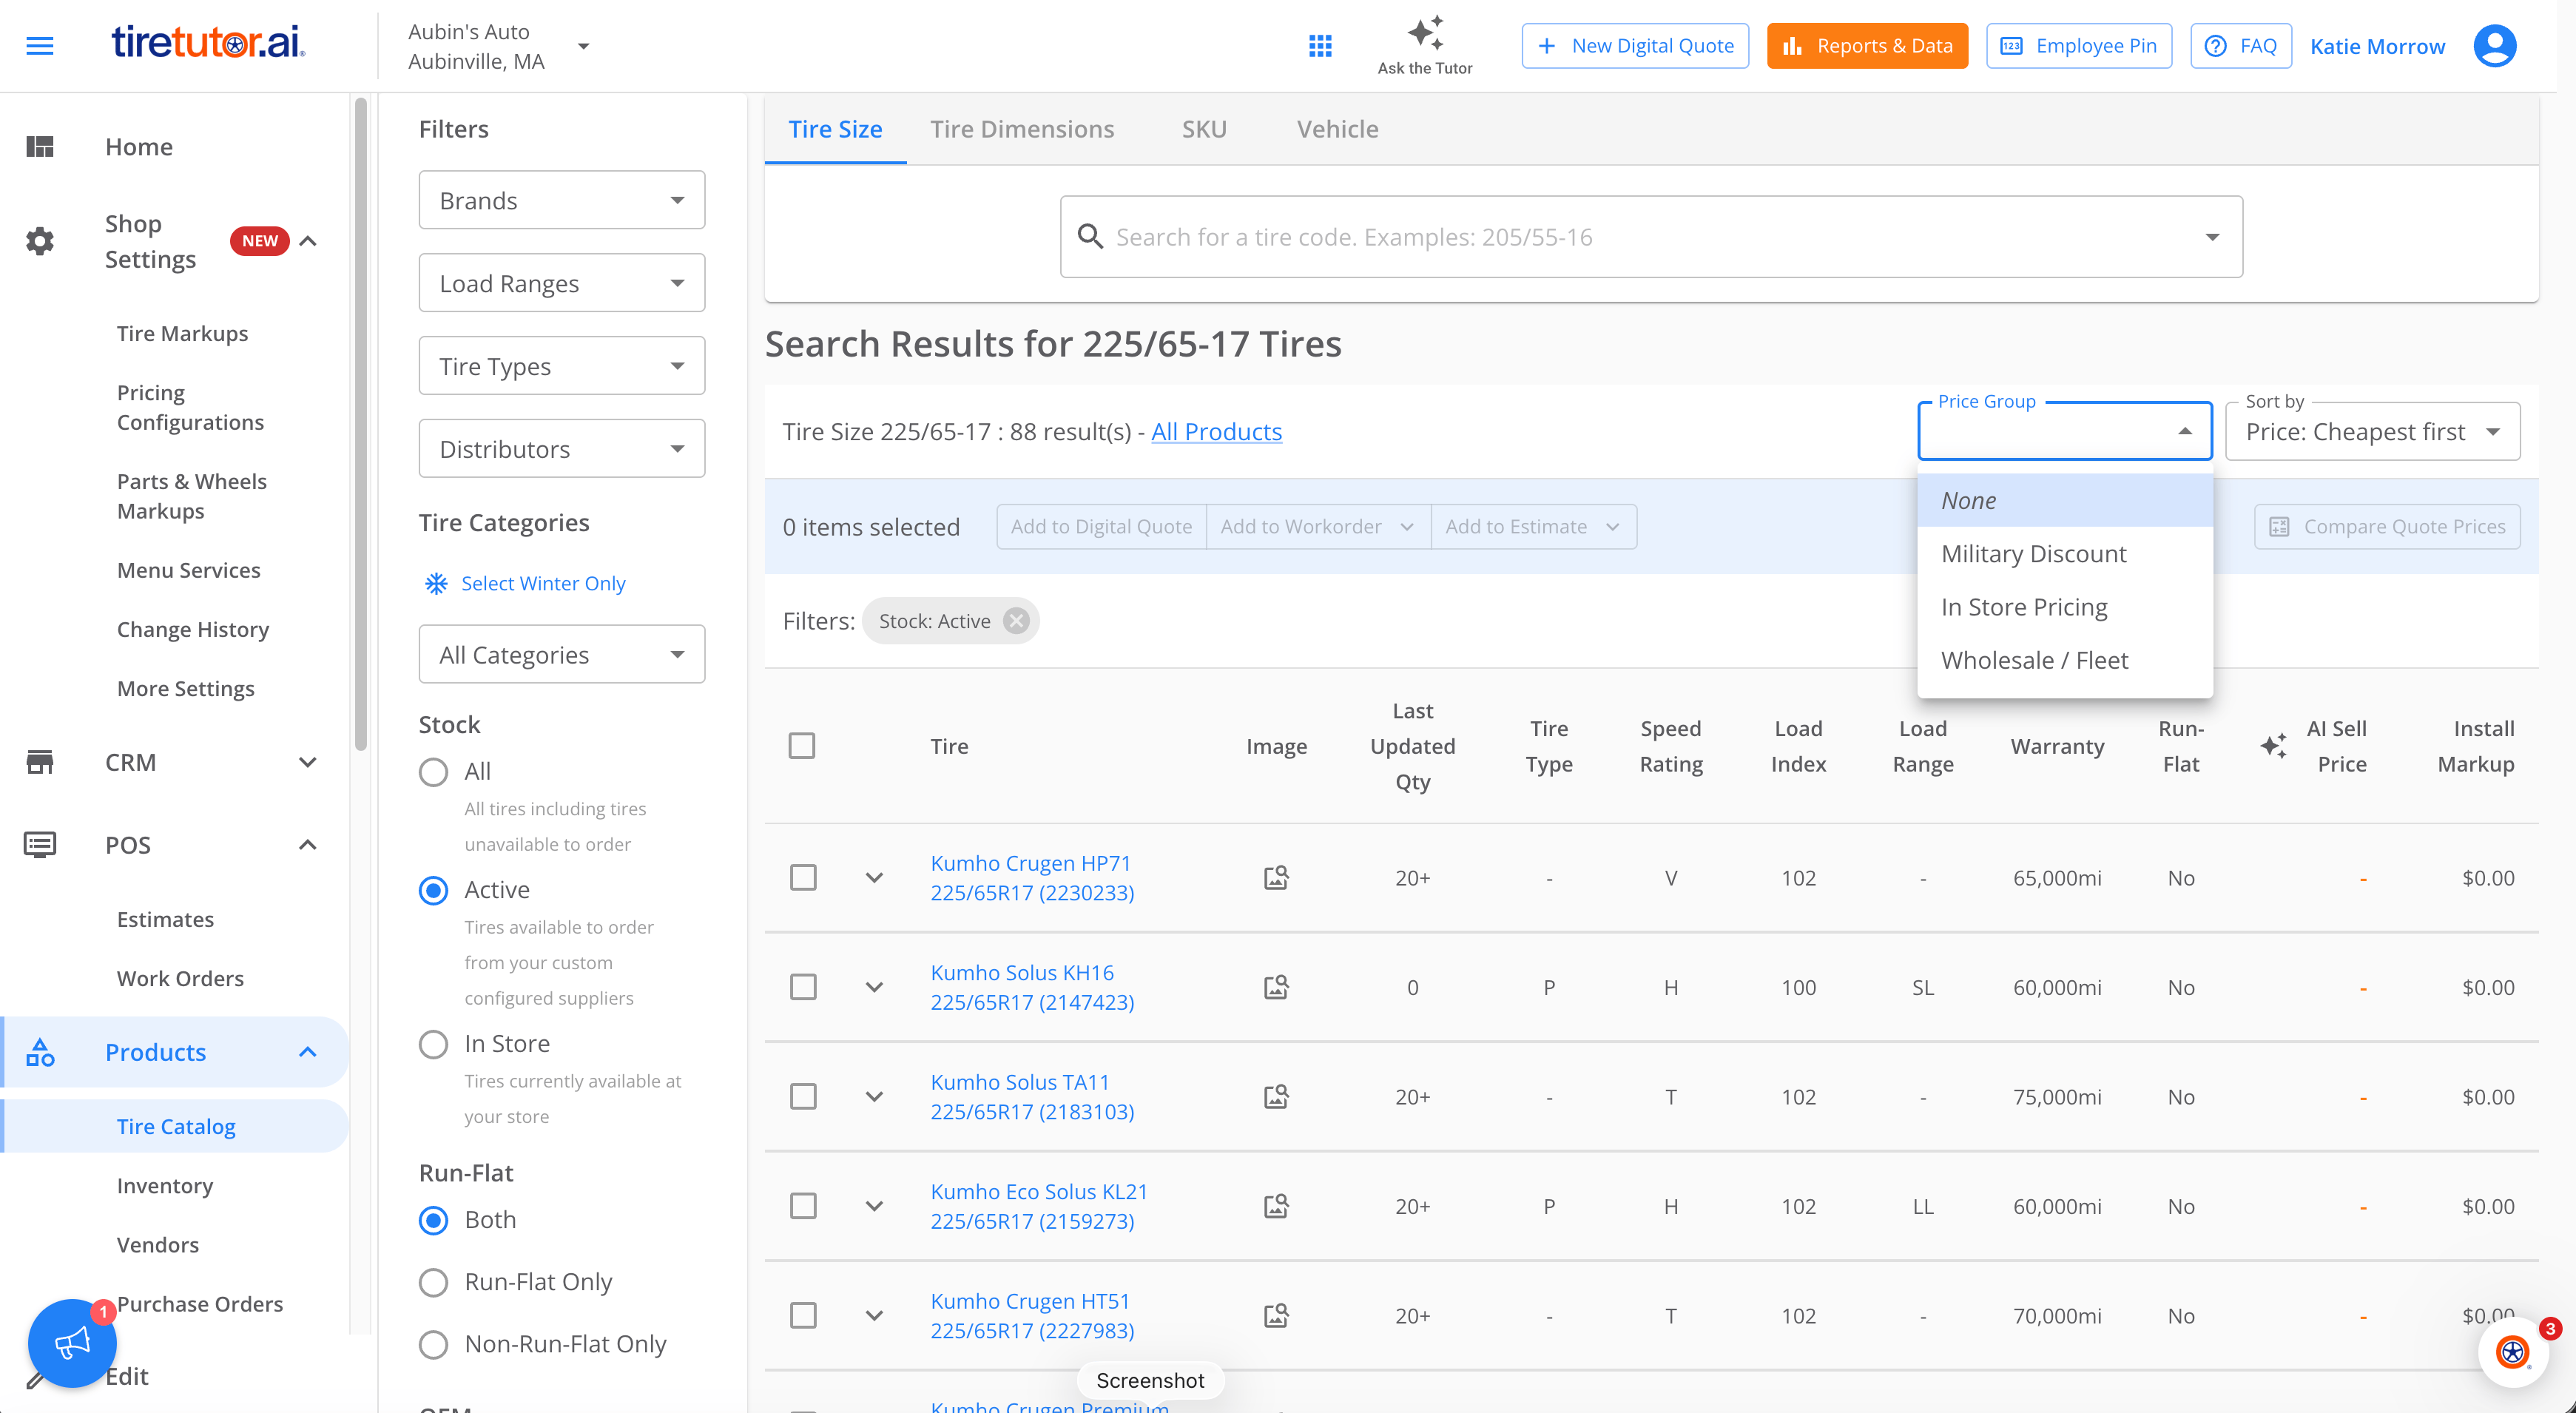

Our price group feature lets you set up your own pricing tiers such as military, friends and family, or wholesale, and apply them right in the catalog. Select the group when you’re in the tire catalog, and unit prices update to that tier’s rules.
Step 1: Creating a Price Group
Head to your settings, and then click on “Tire Markups”. Find “pricing configurations” in the upper right and choose “Add price group”. Open your price group settings and create a new group. Name it for the customer type it serves — common examples are military, friends and family, wholesale, employee, and government pricing.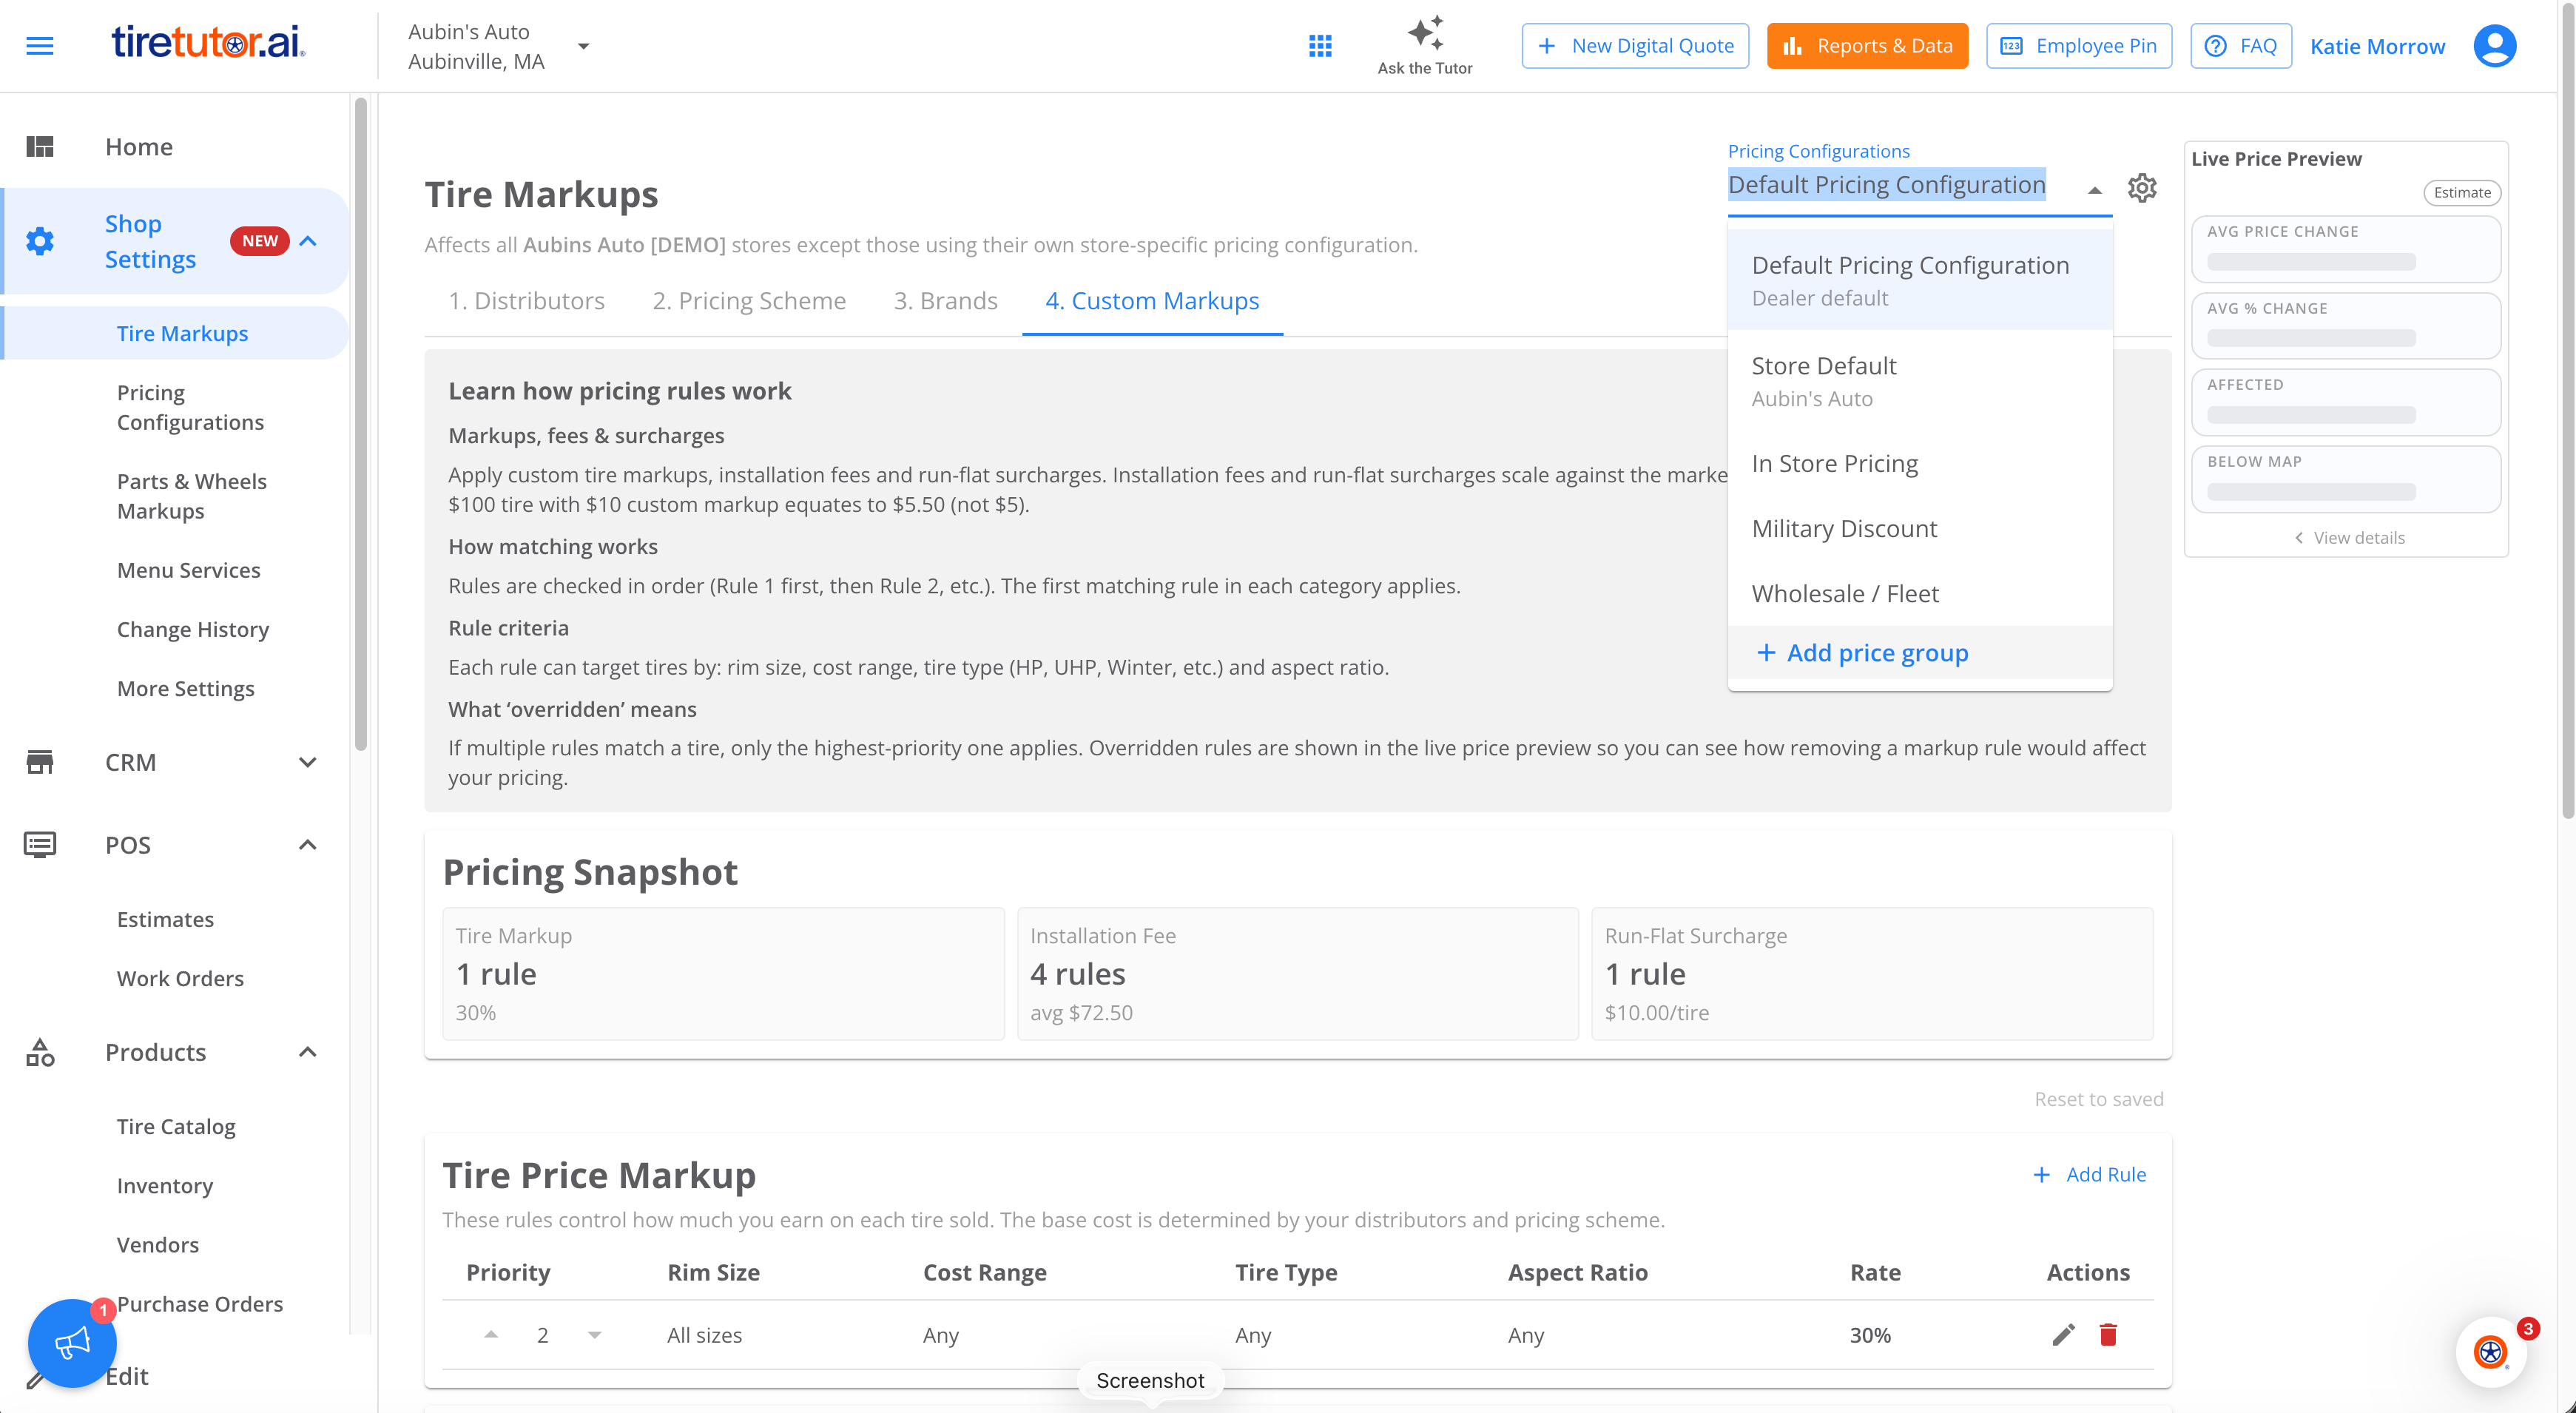
Step 2: Setting the Rules for a Price Group
Within a price group, configure the pricing rules that apply to customers in that tier. You might set a lower margin for a wholesale group, or add a fee for oversized tires. If you want to limit which brands appear for a price group, remove the brands you don’t want. Those brands will be excluded from the catalog while that price group is active. If you disable a distributor source within a price group, the system recalculates prices based on the remaining active sources. Disabling a source does not immediately remove those products from your search results.Step 3: Previewing Your Price Group Before You Use It
Before quoting from a new price group, use the preview tool in your pricing settings to see the prices it produces. Checking the preview first lets you catch a markup that’s set higher or lower than you intended before a customer sees the number.Step 4: Applying a Price Group While Quoting
Open the tire catalog and search for the tire you need, then select the price group you want to apply The unit price in your results updates to that group’s pricing. Once you select a price group, you’ll notice that the AI sell price column adjusts to show the price group you selected.